Sunday, July 29, 2012

Nativity Covers Finalized.


UK DISNEY PROJECTOR COVERS

I was assigned to design several Disney covers for the UK stores and offices.
COVERS: Mickey Mouse Club House Movie Theater, The Lion King Movie Theater, Marvel's The Mighty Avenger's Movie Theater, Brave Movie Theater.

 The book covers are more vertical in comparison to the United States versions.  On the right side of the covers is a :
Movie projector
A blister packet and sticker, containing 5 movie projector disks.
20 Images for each book!

So when the child reads the story he can see certain movie scenes come to life on his/her wall.


Here is the Brave Movie Theater. The top image was my first design.
This design shows more of the archery range and castle in the distance.

The New Brave Cover is I moved the Archery range and centered the castle and the title.

Fisher Price Box Display

I was assigned to design a box display for Fisher Price. Box displays tend to be bought in bulk for shelves by clients like : Costco, Sam's Club, TJMaxx, Target and other stores. The image below is my first draft.

The display was originally meant for the Easter Holiday. 

Editor Notes#1:
Move the Zoo books down on the lower level
Move the Noah's Arks books in the lower left hand corner
Shrink the White circle Logo
Remove the $8.99 price


Version #2:
My Editor's and the Reader's Digest marketing team decided to divided my box set in half, and instead of a holiday theme we went with the generic.

Here is the final result. This project was very fun and interesting because I had to look at the different perspectives and had to think of how it would look like on a shelf.

Friday, July 20, 2012

Marvel Avenger's Movie Flip Book


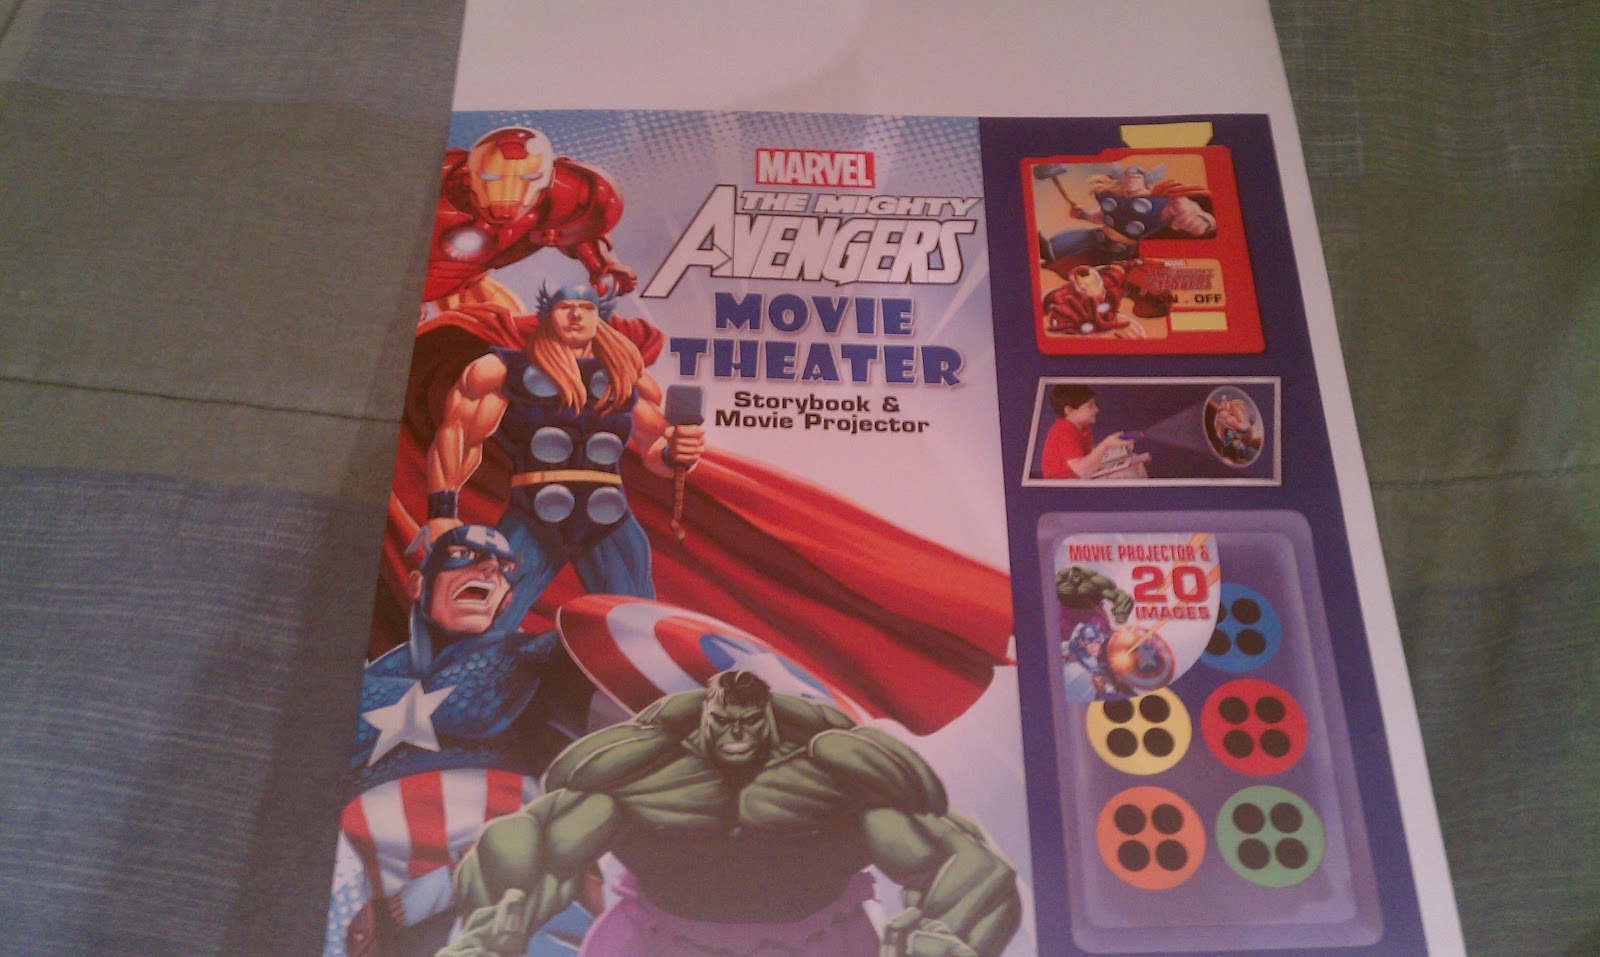
 I was assigned to design a lot of the content for the Marvel Avenger's Movie Flipbook. This book is based off the movie.

Assignment:
Design 1 inside cover
Design the dicuts for the flip book
Design 2 spreads of story
2 Flipbooks: 144 pages of screen grabs from the film.


 This is a mock up dummy of the flip book I made. This book is a total of 72 pages. In this scene there is a group of cars exploding in the street. This entire clip is 4 seconds long.


(Right) I designed an inside cover for the Marvel Avenger's Flip Book. There will be 3 individual character stories (Ironman,Hulk,and Thor) inside of the book. 
This was my first spread design. Each page only had a single sentence of text so instead of creating a text box or doing text wrap around the image I created a rectangular shape with a cut edge. I did this because I wanted to make my design cohesive. 

Editor's reviews #1:
-Change the red to a brighter shade.
-Turn the font to double Black
-On page 4 move the red bar to the right side of the page vertically. 


Editor's Review #2:
-Change the red to a bright gold/yellow. 

This is the finished look for my Ironman Spread.


 (left side) The left side is the inside page of the book. Here I deiced to go with the Avenger's logo. (Right side) is my spread. The white space will be a dicut.


Sunday, July 8, 2012

Nativity Box Part 4


So here is the play set with the press out figurines. I propped this up inside my work cubical. It is really cool to see this gift set come to life!

Editors Notes:
1) To move the Shepard in the inner pages towards the right
2) Enlarge the boy and the dog by 10% (to match the size of the press-outs)


Character Press-outs


Here is an example of a single page of character press outs. This was sort of difficult because according to legal rights we are only allowed to use a certain amount of space for each sheet. Also we are not allowed to place the images too close to one another. It was like play tetris!

Editors Notes:
1) Make the stands for each character longer and more like a horizontal bar. This will make them easier to stand. 


EX: Mary.


A dicut character up close. This is an example of folding the corners!

Nativity Box Part 3


Here is the inside of my Nativity scene(properly put into place). As you can see the background bleeds all around the inner corners of the box.


Editor's Notes #1:
1) Lower the Star
2) Edit the hills by raising them (to allow them to bleed better onto the next scene)

Here is a front view of the box playset.

Nativity Box Part 2


(left)Here is the layout I designed for the inside of the boxset. This will be the backdrop for the Nativity scene. I decided to keep it spacious and simple due to the age bracket of children of 4-6. Also in the foreground the press-outs will be played in the front. The surrounding frames will be bleed around the inner corners of the box, allowing the  plastic casing to fit as well.

(right) Over here is the inside flap that will be displayed when you open the mock book. Here I decided to create a dessert scene in the background (which consists of sheep,rolling hills, Shepards, and a beautiful city in the distance and a blue starry sky.) In the foreground is a boy with his dog and and a green bush. The bush was purposely placed in the right corner because I designed it so it would bleed into the foreground into the Nativity stage.

The Next step of this process is to print and insert my art work into the box.


Nativity Treasure Box Sketches

Using tracing paper I sketched several thumbnails in sharpie for book cover ideas for the Nativity box set.


Nativity Treasure Gift Box Set Part 1

I was assigned to do a gift set box all based around the story of when Jesus was born.

It will be a great gift to children because it comes with:
1 story book
1 activities book
2 sheets of stickers
2 sheets of press outs

So I had to design a Dummy: A mock box/books , to be send off to several companies. This project will go to a publishers meeting on July 13th in Florida (the of of this week).


My job was to design:
Sticker Sheets
Character Press outs
Design Colored Cover and 15 page spreads of book #1
Design a B/W Cover with also a 15 page spreads for book#2. This will be consist of Christmas Games,Puzzles,Mazes, Word searches etc.
Entire Treasure Box Design (Front Cover, Spine,Back cover, Inside Box (Nativity play set), Inner Flap,and Pages (thickness of mock book)

As you can see below this is the proper measurements for the dummy.